Key Holder
Key Holder
A minimalistic Swiss-army-knife like key holder, with integrated bottle opener
/filters:strip_exif()/filters:strip_icc()/filters:blur(4)/62/cImZssuiStZGN2B1wWxiH76uZ7j7eUrqL9YZoUBf.jpg)
It's the end of the year again, so it's time for a new Make in Belgium Secret Santa!
The Belgian Maker community on Facebook, Make in Belgium, organizes a Secret Santa every year. This year, 144 participants made gifts for strangers based on their Facebook profiles and a short description.
After researching my recipient and some brainstorming, I decided to create a key holder similar to a Swiss-army knife. I wanted it to be simple, useful, and appealing. And as an extra I wanted to make it usable as a bottle opener.
I made quick sketches to plan the shape and materials I needed. At first, I thought of using a compact wrench as the main component, as it would be sturdy and could also function as a bottle opener.
Using Shaper Trace, I accurately captured the wrench's shape with the keys to create a design in Shapr3D.
Laser cutters are great for quickly making prototypes, so whenever I was confident in my design, I could immediately create one and test it out.
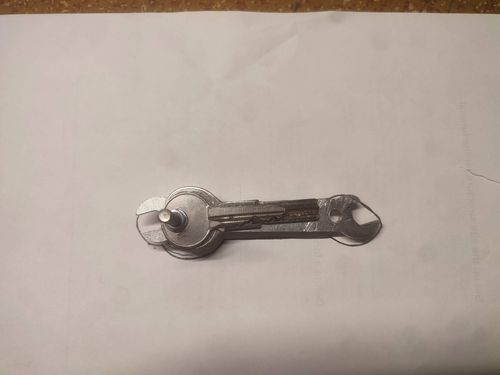
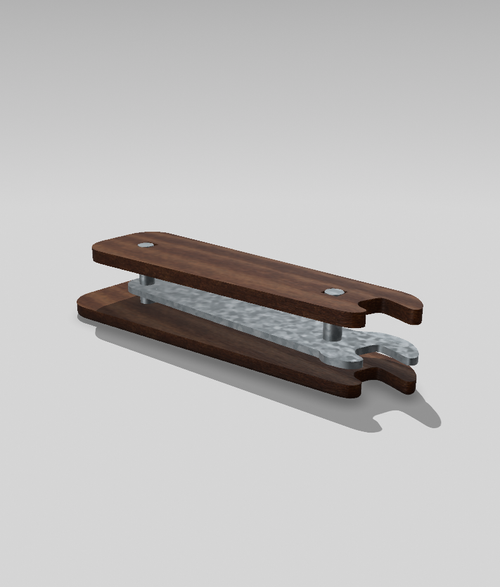
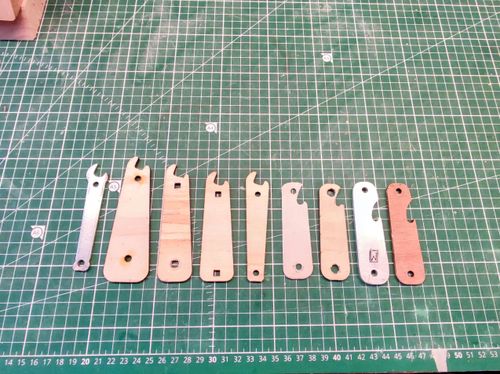
However, I soon realized that using a wrench was impractical. Although it looked nice, it didn't work well as a bottle opener.
So, I went back to the drawing board.
I found a piece of aluminium that I planned to use as the central part. After trying out different ideas and designs, I finally settled on a design that I was happy with.
I used my laser cutter to make another prototype and decided to bring this design to life.
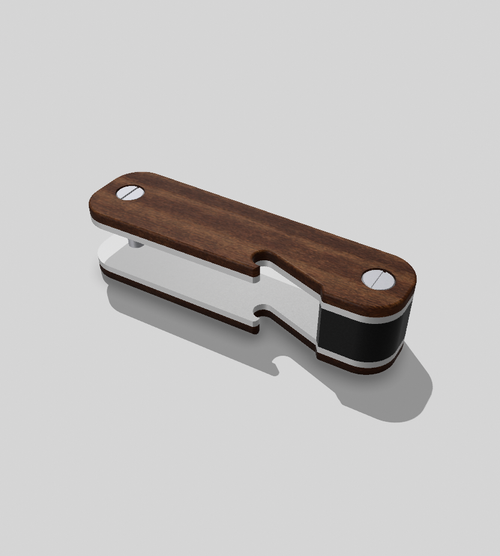
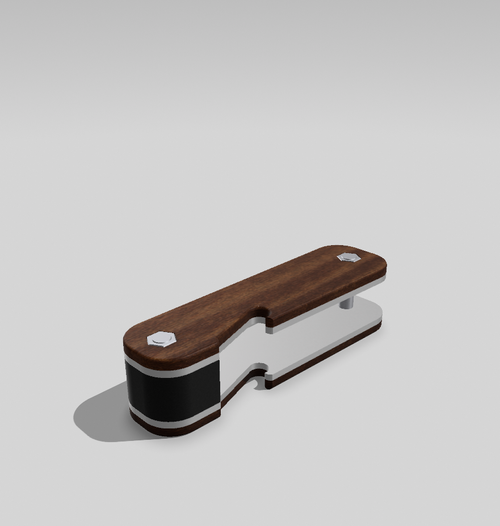
Cutting the metal required some precision, especially around the bottle opener. I used my scroll saw with a suitable metal cutting blade to shape the metal, but it took several blade changes to get it right.
I wanted the final product to have a polished look, so I used a dark wood for the outer shells. Luckily, I found some leftover wood that was perfect for my needs.
Using the metal component as a template, I again used my scroll saw to cut the wood to the same size. Then, I carved out the shape of the bolt and nut that hold everything together, making sure they were neatly embedded in the wood.
Using a sander and my Dremel, I tidied up the edges and ensured that all the layers were perfectly aligned.
I finished the wood with some oil and used super glue to stick the wood to the metal.
For the black spacer, I used my 3D printer.
I was so happy with the end result, so I decided to keep the initial version. Since the deadline was still nearly a month away, I had plenty of time to create another one and try to improve to progress of making it.
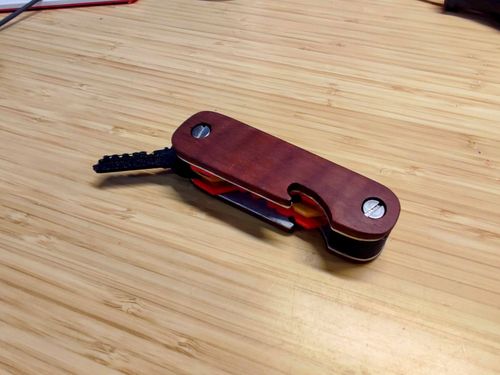
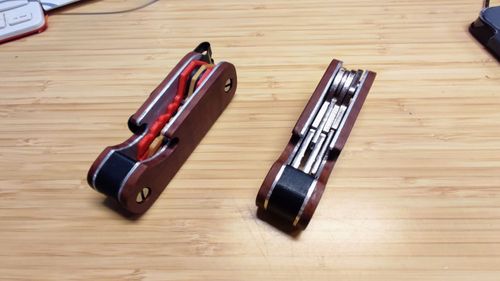
In the initial design stage, I had the idea of including a belt clip to allow users to hang the key holder on their belt or pants. However, due to the long wait for the clips I ordered to arrive, I only had one day to try to integrate it into the final product. In the end, I wasn't satisfied with the result, so I chose not to use it. Perhaps in the future, I will take the time to explore adding a clip that is both functional and doesn't make the key holder appear too bulky.
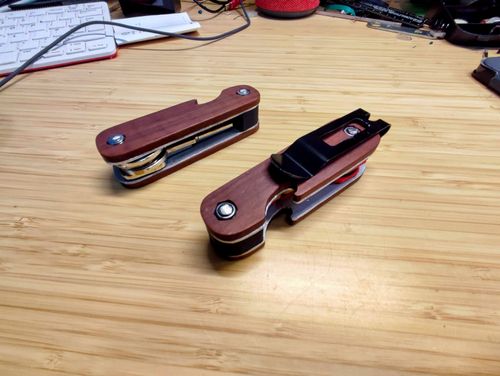
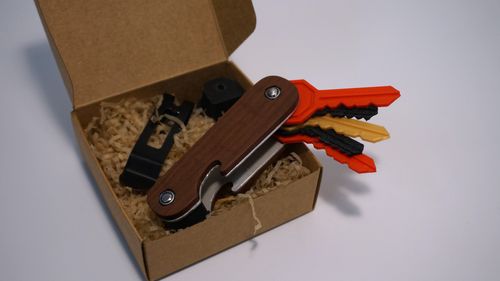
I hope my recipient was happy with it and that she finds a practical use for it. In any case, I now use mine to keep all my keys together :)
If you're interested in seeing all the incredible creations by the other makers, take a look at the Make in Belgium Facebook album showcasing all the amazing things that were made.