Prize wheel
Prize wheel
My dad needed a prize wheel for a non-profit event, so I decided to help out. With the Maslow M4, I navigated through the steps of crafting the wheel, learning about CNC and CAM along the way. Here's how I managed to complete it just in time.
/filters:strip_exif()/filters:strip_icc()/filters:blur(4)/161/k6Zi6kqOkIXv4Ue7cgosPPfynSHE1xDbEukjddn8.jpg)
This project started as a request from my dad. He asked if I could help him create a prize wheel for a non-profit organization. I liked the idea and was excited to give it a try.
This year, I received the Maslow M4 from Kickstarter and immediately thought it would be a great project to work on.
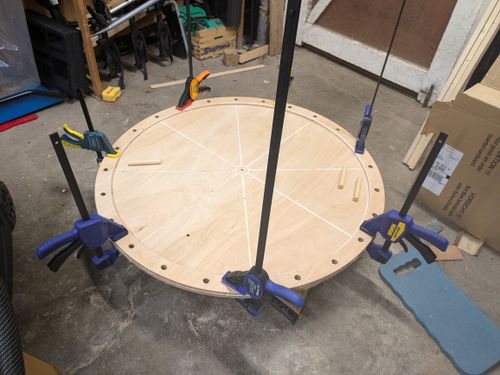
To start, I created the prize wheel in Shapr3D with a focus on simplicity. The wheel comprised a large circular wooden board and an additional outer ring for durability. It was divided into 8 sections and featured 24 sticks.
I am still learning about CNC and CAM files and am in the process of figuring out an efficient workflow to transfer a design into a file suitable for uploading to the Maslow M4. While exploring the Maslow M4 forums, I stumbled upon KrabzCAM. After experimenting with different other CAM software options, I found this tool to be a real lifesaver. Although the controls may seem a bit strange at first, once you get the hang of them, it becomes an excellent resource for converting vector sketches into CAM files.
I initially exported the DXF file directly from Shapr3D and brought it into KrabzCAM but encountered some odd grouping issues and wasn't able to get a decent result. After several attempts, I chose to give up on that method and search for an alternative solution.
Then I considered using Cuttle. Cuttle is incredibly user-friendly for vector graphics with excellent export capability. It’s so straightforward that I recreated my image. After all, it consists of just a few circles and some straight lines. After completing the new design within a matter of minutes, I quickly exported it to DXF and imported it into KrabzCAM.
In CNC software, there are numerous varieties of toolpaths available for shaping your design. Each toolpath serves a specific function, so it’s essential to spend some time considering how and in what sequence you intend to execute your project cuts.
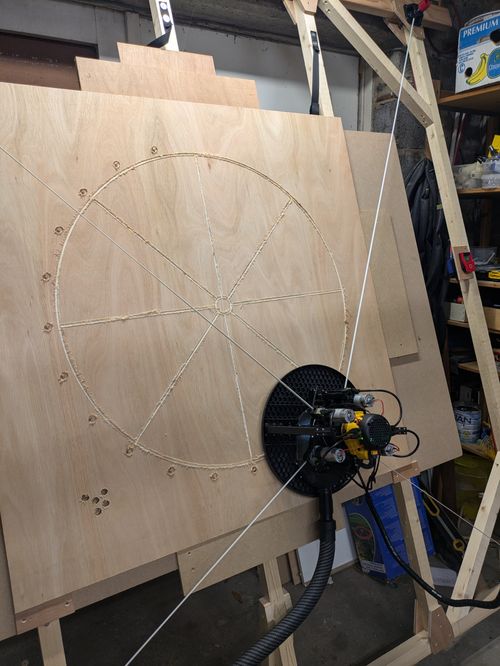
The first toolpath carved the 8 segments into the wood. I opted for a simple pocket cut that would produce clear visual markers without cutting all the way through the wood.
After finishing the scoring, I moved on to the next toolpaths, which involved cutting through the wood. This stage required careful focus on the cutting depth and feed rate to avoid overheating the bit or producing any splinters in the wood. I incrementally adjusted the depth, guaranteeing a smoother finish and reduced stress on the milling bit.
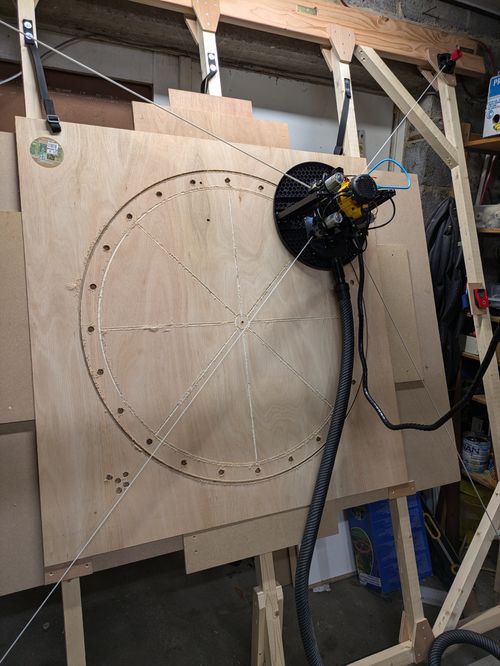
I utilized a toolpath to generate all the holes with a 'Profile inside'. This section caused the most problems. For some reason, certain holes kept failing, so I had to divide the CAM file into several distinct paths and complete each one until everything was finished.
Afterward, I removed the entire circle using a 'Profile outside'. When cutting out pieces, you should also remember to add small tabs in the CAM file. Ignoring this can increase the chances that your item will shift as it nears the conclusion of the cutting process.
For the outer ring, I essentially followed the same process. I created the holes using a 'Profile inside', shaped the inner circle with a 'Profile inside', and formed the outer circle with a 'Profile outside'.
The cutting process wasn't ideal. Although the Maslow M4 is a fantastic machine, I faced several challenges. By the time you read this, an upgrade kit will have already been launched, and updates to the software and firmware are happening nearly every week. Therefore, I still hold the belief that it will improve significantly in the future.
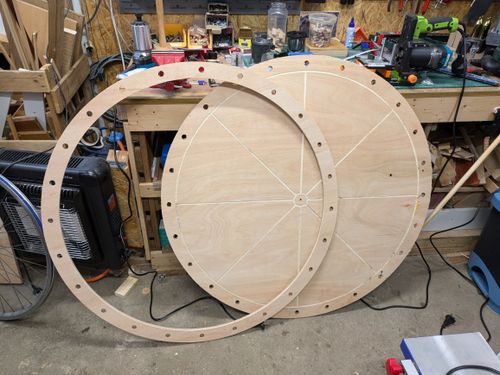
Now that I have all my parts, it's time to put everything together.
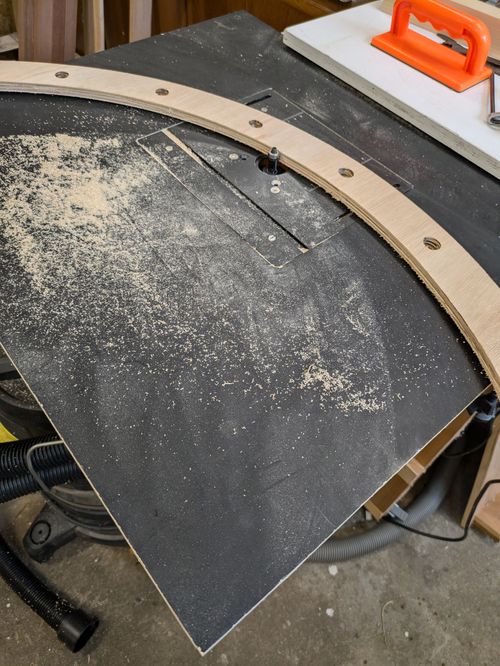
The CNC cuts on the disc and ring were quite precise, requiring only a quick pass on my router table and some sanding to smooth out sharp edges and tabs. Afterward, I glued both sections and allowed them to cure.
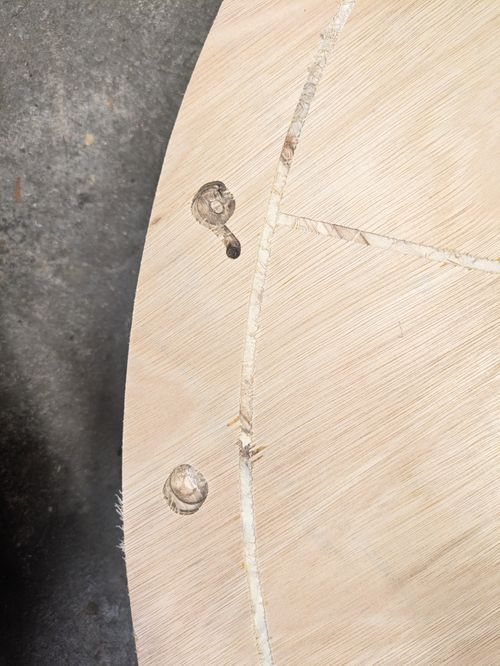
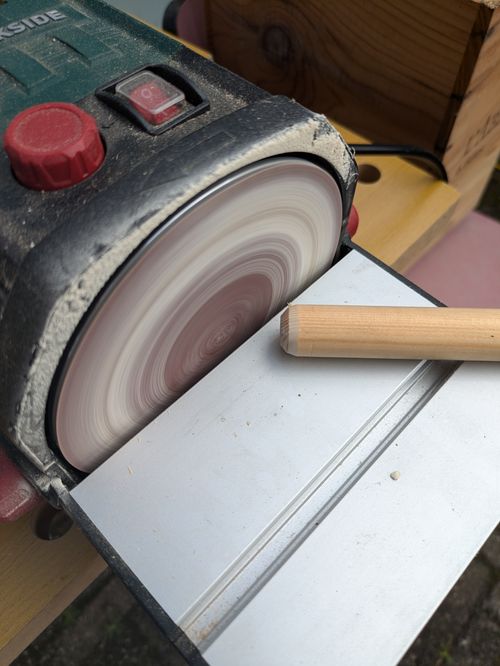
Once the parts were glued together and allowed to cure, it was time to work on the sticks. As not all holes were cut correctly, I used my Dremel to tidy them up. Adding extra wood glue secured the sticks firmly in place.
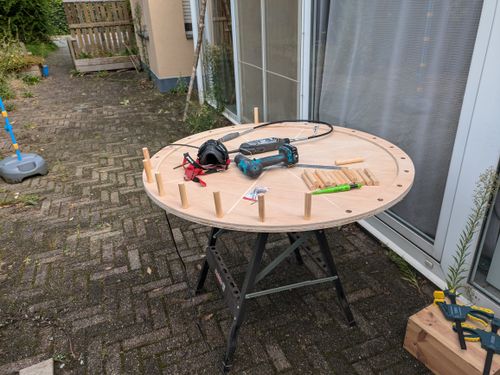

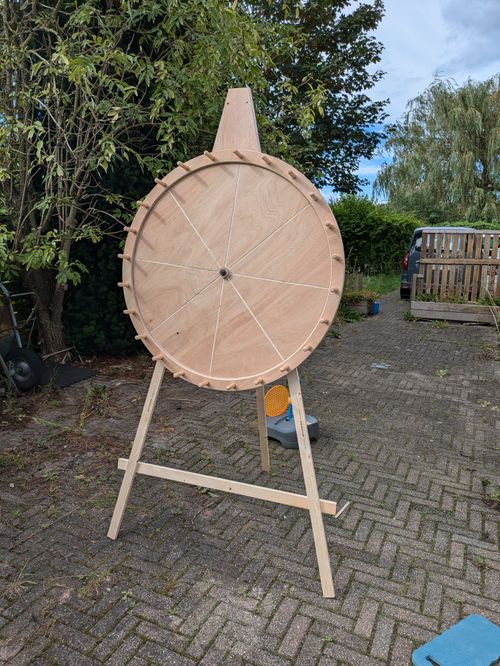
The wheel was already looking impressive, so the next step was to build the frame.
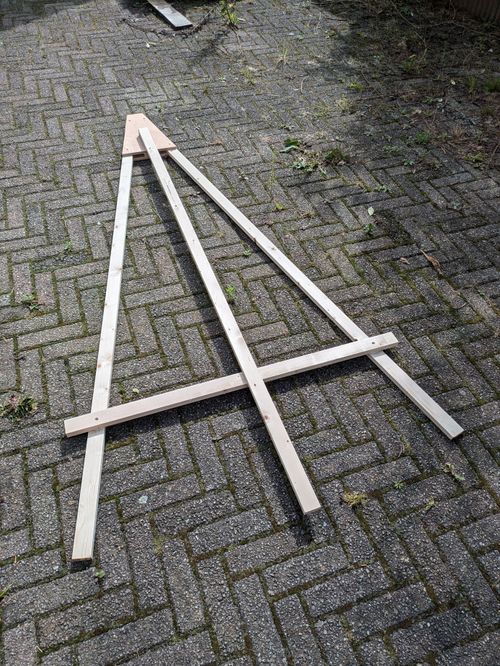
The design for the frame was simple, using 4 beams to create a tripod that could be extended when the prize wheel was in use.
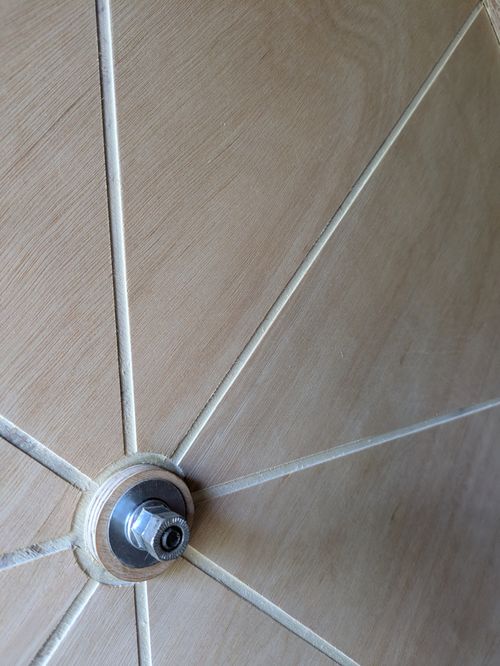
For the rotating mechanism, I initially thought about using a bicycle wheel as the foundation, but rather than simplifying things, it only complicated the wheel, making it more challenging to affix to the frame and ultimately adding extra weight.
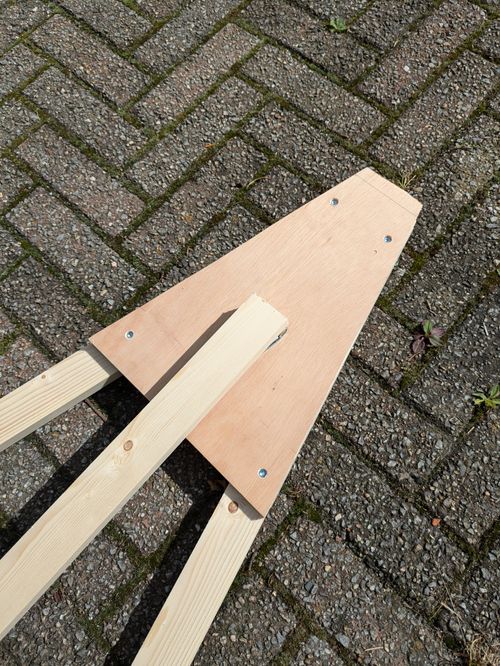
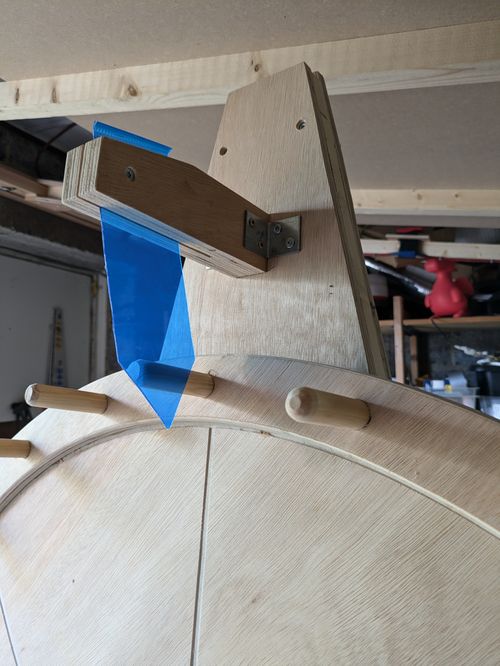
To keep the mechanism as easy as possible, I simply removed the axle from the bike wheel, secured it with 4 bolts onto the prize wheel, and inserted the other end of the axle through two planks fixed to the frame. This way, the axle rotates against the wood. After some testing, this appeared to function quite well. There will be some deterioration of the wood over time, but if that happens, we can just swap out the wood and be finished.
It was so much fun to see everything come together. The only component we needed now was a flipper to stop the wheel on the segment. Again, this was an exceptionally simple solution. I took a piece of plastic from an old pencil case, cut it into shape, and placed it between some wood. Very simple, easily replaceable if needed, and it creates a delightful sound when hitting the sticks.
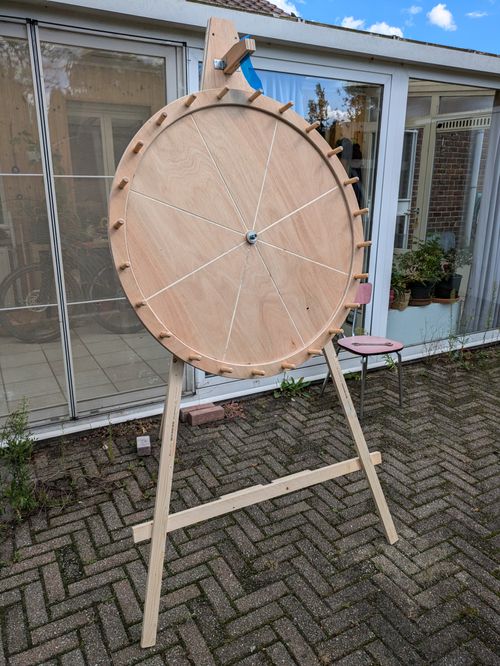
Finally, the prize wheel was ready just in time for the event. I’m looking forward to seeing some pictures of the wheel in action.