Raspberry Pi Kiosk
Raspberry Pi Kiosk
A set of 3 kiosks powered by a raspberry pi with touchscreen to help tracking people's movement.
/filters:strip_exif()/filters:strip_icc()/filters:blur(4)/124/cW0c9gMqDjRhhJ3UuzUG2MJhrn5wfeJjdFc1lnOM.jpg)
We're working on a project at work which requires several interactive kiosks. These kiosks are equipped with Raspberry Pi’s and utilize the official Raspberry Pi touch screen.
The project kicked off by working on the interface for the Raspberry Pis. We created and tested the software using React and a local server running on Node. Python is used for communicating with the hardware. The React web application is displayed in a Chrome browser in kiosk mode. I won't delve into the software details in this project. This article will focus solely on the kiosks.
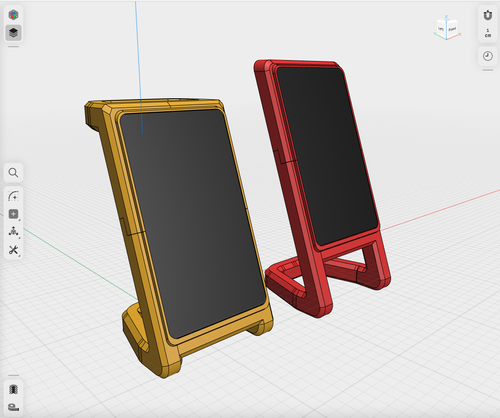
Working with a detached screen with a raspberry pi, and some loose components on a desk wasn't very productive, so I opted to design a portrait frame. I'm a fan of the rollbar frame (link below), but as it's landscape-oriented it wasn't usable, so I designed my own, in Shapr3D, based on the rollbar frame. The base of the frame, already great for mounting the screen, was fully reused. After several iterations and test prints, I had a version that securely held the Pi and screen on my desk. I noticed the frame could be a bit lower, so I also created a shorter variant.
The final version of the kiosk was meant to be placed in a more stable casing, with the electronics hidden from the user.
I had tested several designs in Shapr3D and chosen one to reproduce in MDF. The design allowed the 3D printed frame to slide into it neatly. There was room for a QR scanner at the bottom, and one kiosk required a webcam.
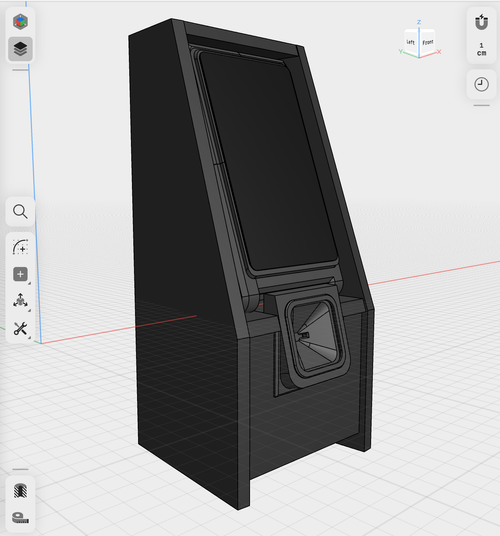
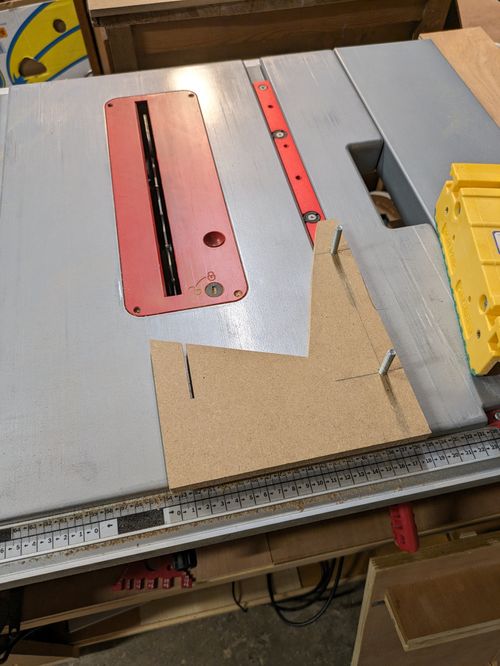
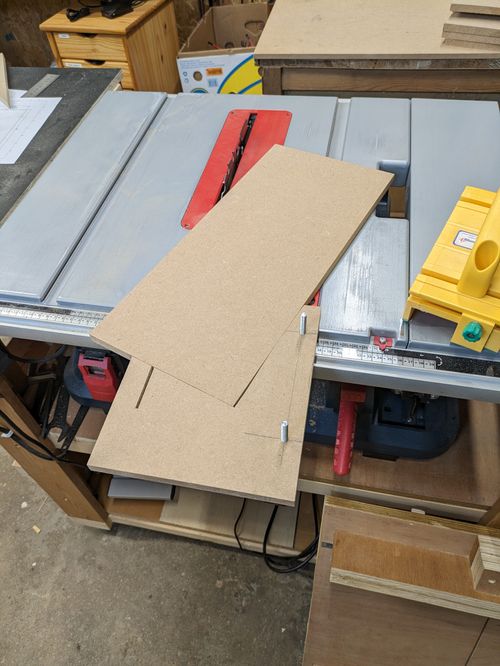
Once the design was finalised, I exported it to a cut list in Shapr3D, simplifying the process of sawing all the pieces. The only challenging part was the angled front side. After some test runs on my table saw, I made a jig that made sawing the angle a breeze. The three kiosks required for the proof of concept were identical, allowing me to saw all the pieces simultaneously. To be safe, I first assembled a test version, which led to some minor design adjustments, mostly for aesthetic reasons.
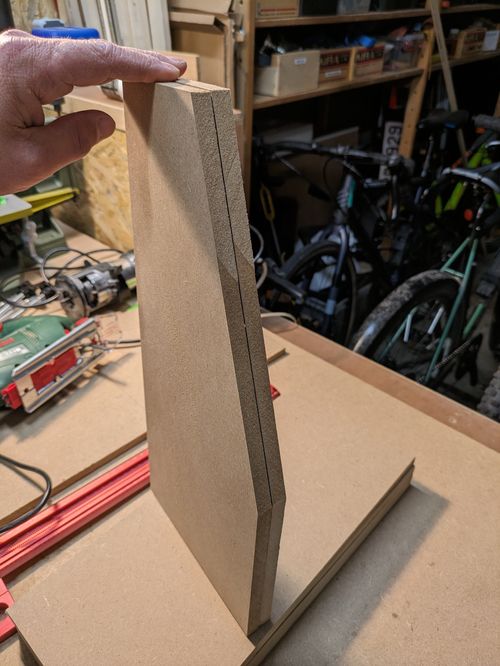
I decided to use domino's to connect the kiosk plates. Although I didn't have the budget for a real domino machine, I did find an affordable alternative. I'd recently purchased a device on AliExpress that allowed me to mount a hand router for drilling mortises. The result was similar, albeit not as simple to set up. The default setup wasn't ideal, so I created a more convenient jig. The final task was drilling numerous mortises.
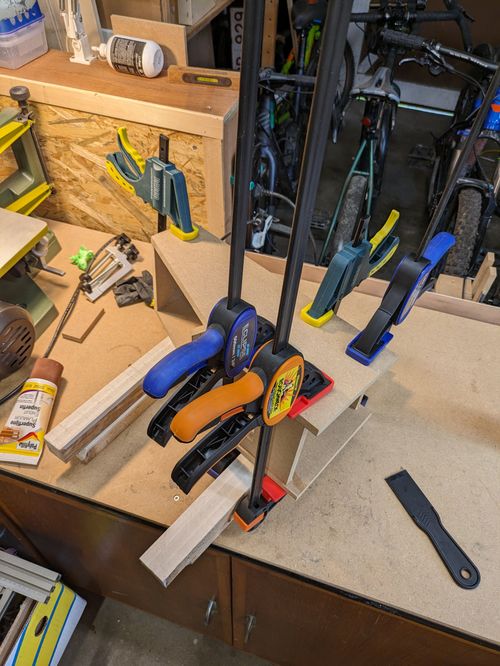
Once all the mortises were drilled and everything fit together, I was able to glue the kiosks. The gluing process was straightforward as the domino's securely held everything in place. A few additional clamps and some resting time were all that was needed.
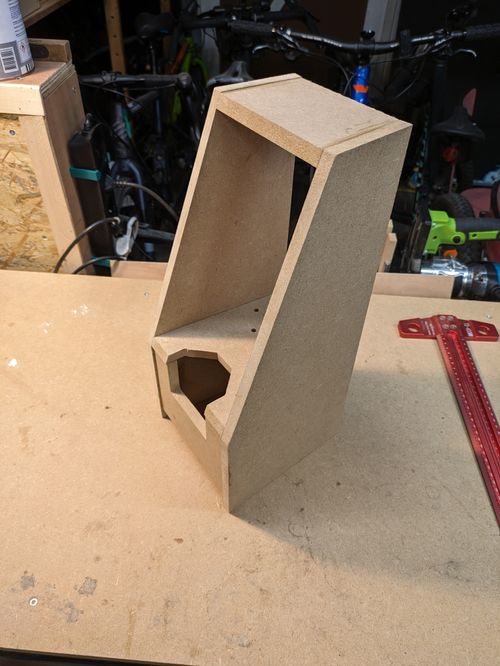
After the glue dried, it was painting time. I wasn't experienced in painting MDF, but I knew this wood type can massively absorb paint, especially the more porous edges. Some online research suggested using wood filler paste on the edges before applying primer. Once the primer dried, I applied several layers of black lacquer.
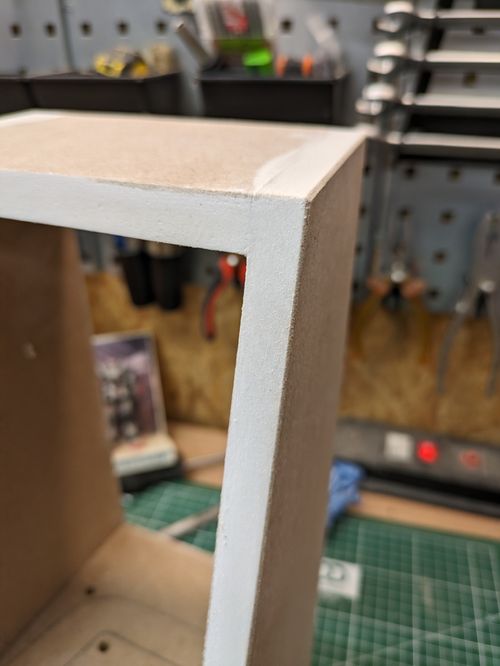
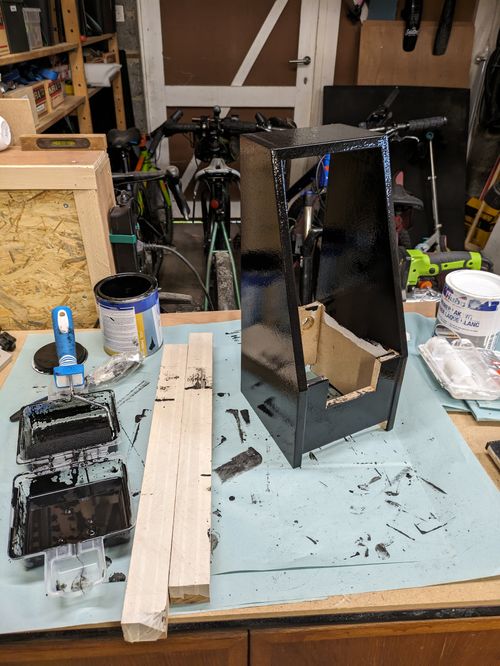
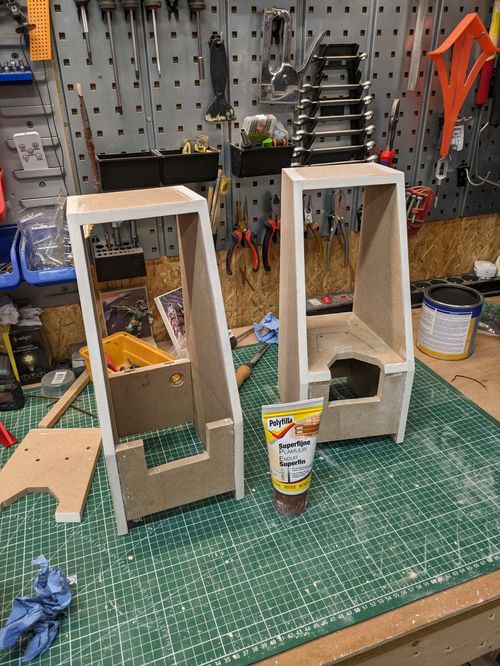
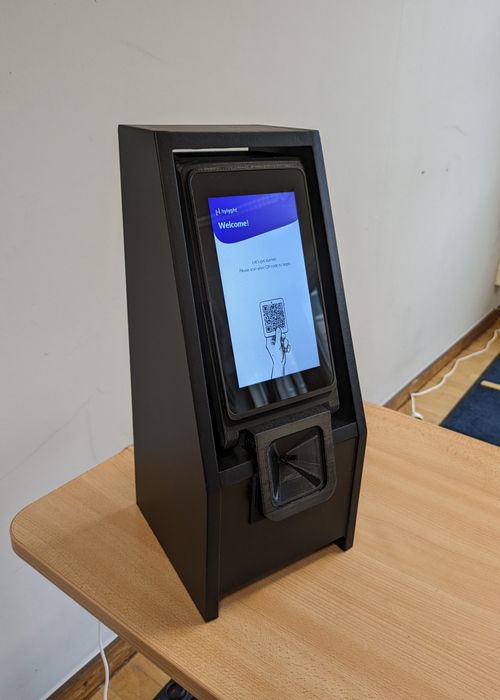
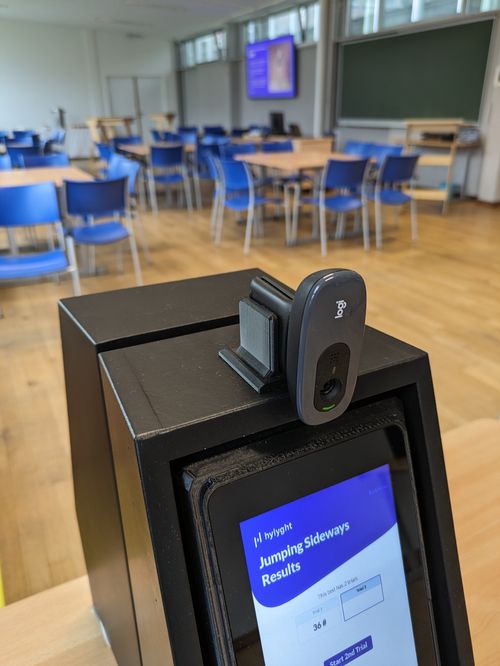
The finished product looked fantastic. Once the paint dried and the screens were installed, everything looked perfectly finished. I installed an external power button for easy on/off control and a clamp on top for the webcam-enabled kiosk. They were finally complete, just in time for our first proof of concept demo. During the demo, I noticed a few minor issues, like the QR scanner occasionally struggling with light exposure. However, these are issues for the second version.
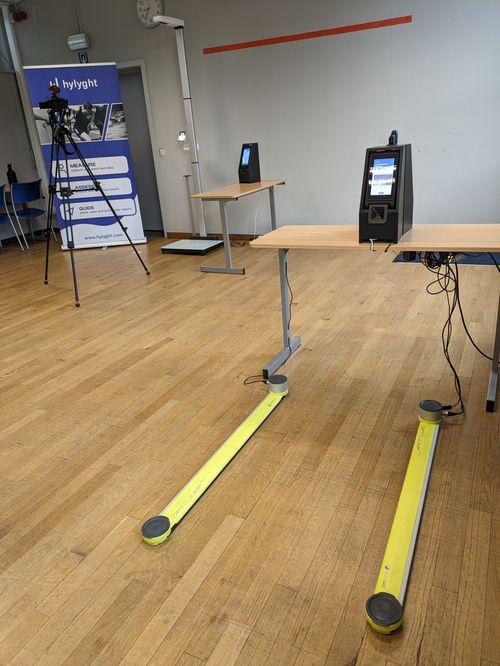
Some final foto's of the demo
Links

Raspberry Pi portrait 7" screen frame by marzsman | Download free STL model | Printables.com
A portrait frame for the official Raspberry Pi 7" touchscreen | Download free 3D printable STL models
https://www.printables.com/model/857890-raspberry-pi-portrait-7-screen-frame
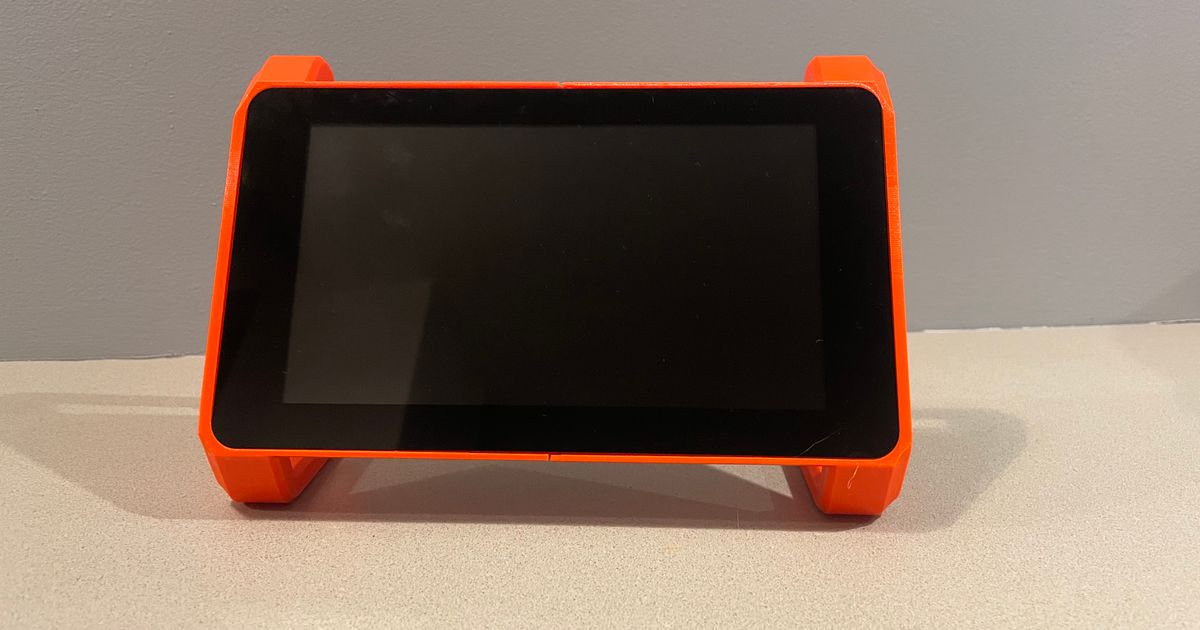
SRC3D-1: A Raspberry Pi 7" touchscreen rollbar frame. by Frank | Download free STL model | Printables.com
A Raspberry Pi 7" touchscreen rollbar frame for use with RPi 3/4. All parts can be printed on a Prusa Mini. | Download free 3D printable STL models
https://www.printables.com/model/77207-src3d-1-a-raspberry-pi-7-touchscreen-rollbar-frame