Small 3-legged wooden stool
Small 3-legged wooden stool
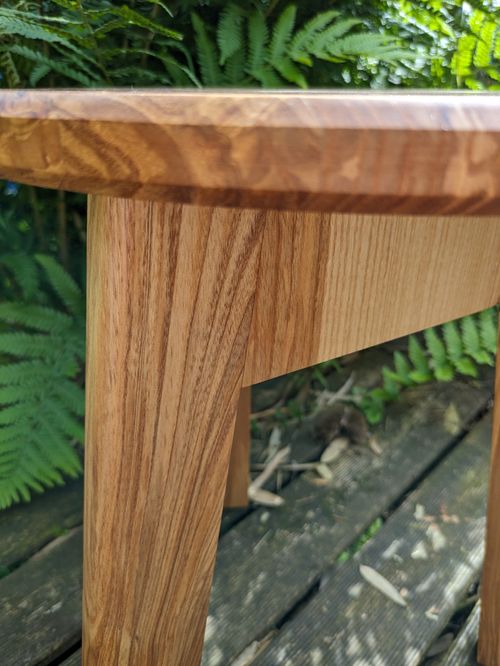
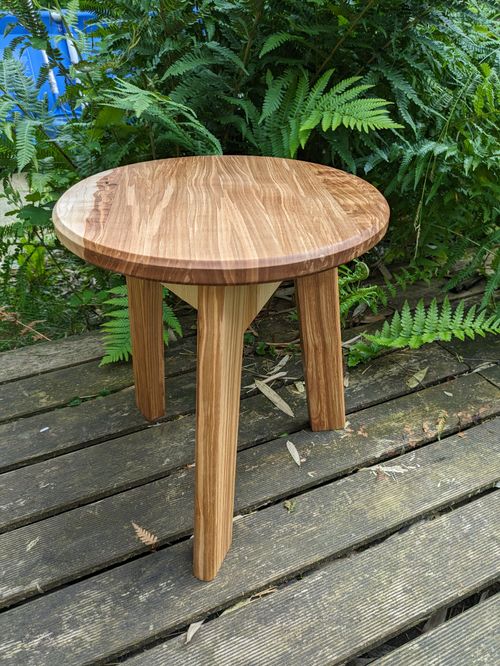
A handy wooden stool with 3 legs, made from left-overs.
/filters:strip_exif()/filters:strip_icc()/filters:blur(4)/159/OLZ9W7sBqKzMAGgwQH6Ve0WTTTP1GBMPsXetblDp.jpg)
I made this stool as a final project in my woodworking course. The assignment was quite defined this time. We were given the plans and a sample stool, and we were allowed to work based on that. We were free to choose the dimensions and the type of wood.
While searching for the right wood, I found some beautiful leftover pieces with an interesting pattern. This wood immediately caught my eye and it seemed just enough to make my stool.
As I was processing the wood into usable planks, I noticed how much hail was still embedded in the wood. Presumably, the tree had been shot many years ago during hunting. This probably caused the interesting pattern, but the wood was almost unusable to run through the planer and thicknesser machine. Fortunately, I was able to saw away the most damaged wood and still managed to prepare some beautiful pieces for my stool.
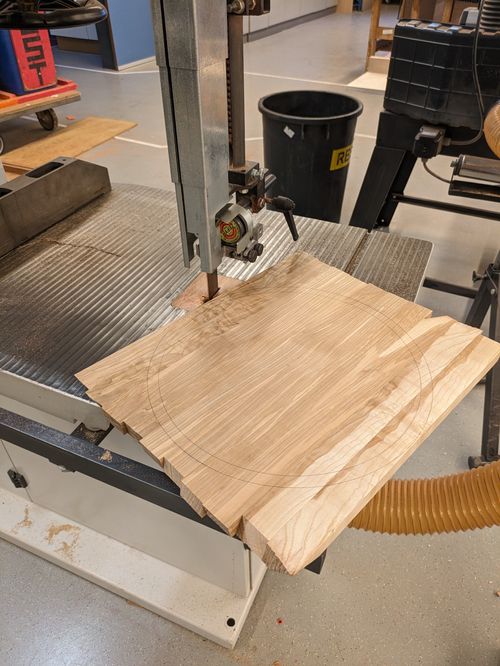
Making the seat of the stool went smoothly. Selecting planks, planing to size, gluing together to form a board, and running it through the thicknesser until it had a nice flat surface. Then I used the bandsaw to cut out a circle and the belt sander to make the circle perfectly round. I then finished the side of the seat with a router.
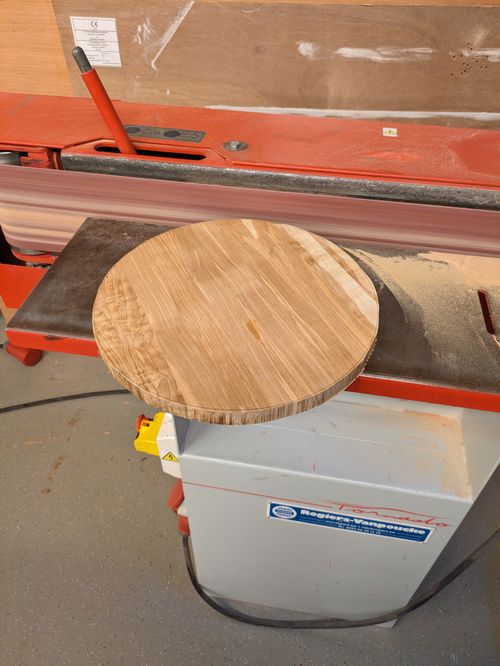
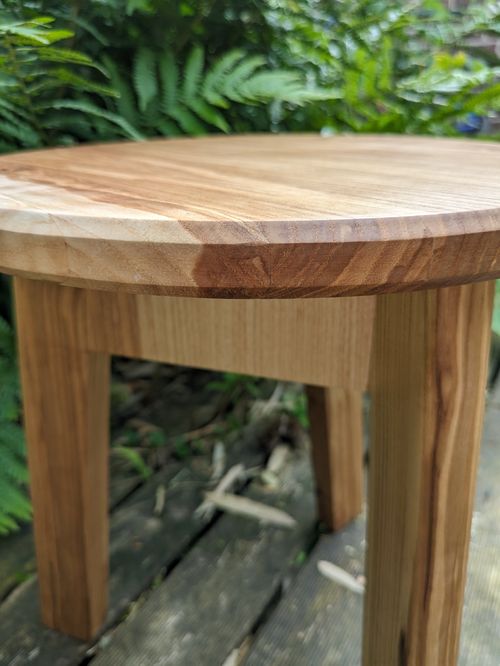
The bottom was a bit more challenging this time. The stool has 3 legs. Each leg is attached to an extension that connects to the next leg. This creates a triangle as the base, with a leg at the ends of each extension.
The first task was to cut the legs to size and at the correct angle. It was important that the angles matched above and below, and that they were definitely the same length. The advantage of a 3-legged stool is that you almost always have a stable result. However, the seat must ultimately be level.
Once the legs were ready, I could cut out the extensions that formed the triangle. At this step, you need to pay attention to how long and how wide you will make these extensions. This is especially important for later attaching the legs with domino joints.
Once I was sure of my calculations (and with a little extra help from my teacher), I could cut the extensions to size, at the correct angle, and router the domino joints.
Now that the most difficult part was behind me, the exciting part came - assembling all the parts together and hoping I hadn't made any mistakes. Everything fit perfectly!
The only thing left for me to do now was to sand and oil all the pieces. I am super happy with the result, and the nice thing is that the stool is also very sturdy and convenient to use.
