Small side table
Small side table
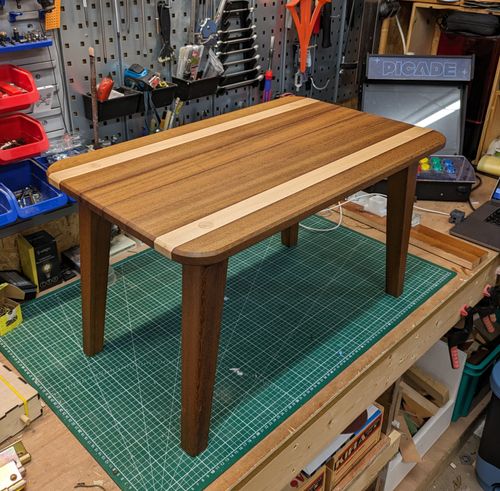
A small side table I made in my woodworking course.
/filters:strip_exif()/filters:strip_icc()/filters:blur(4)/123/Lqywuuic5b1Wop1A1gZP8uRNB4DFNaQzao5K6LXJ.jpg)
This project was an assignment we received in my woodworking evening class. The task we were given was to design a small side table. The tabletop had to be assembled from multiple slats that we took from a rough wood slab. The slab needed to be as thick as possible so that we had to saw as few slats as possible to make a tabletop. We were completely free in the choice of wood. It could also be a combination of several types of wood. We were also completely free in the length of the legs. However, the legs had to be made conical on the 2 inner sides. Eventually, the legs had to be connected to the tabletop with wooden dowels that were glued into both the tabletop and the leg.
Like many of my other projects, I started with the design in Shapr3D, my favourite CAD program. I had selected a large piece of dark wood (unfortunately, I do not know which type of wood it was) that was more than thick and wide enough. This allowed me to saw 6 slats of 60mm on the table saw.
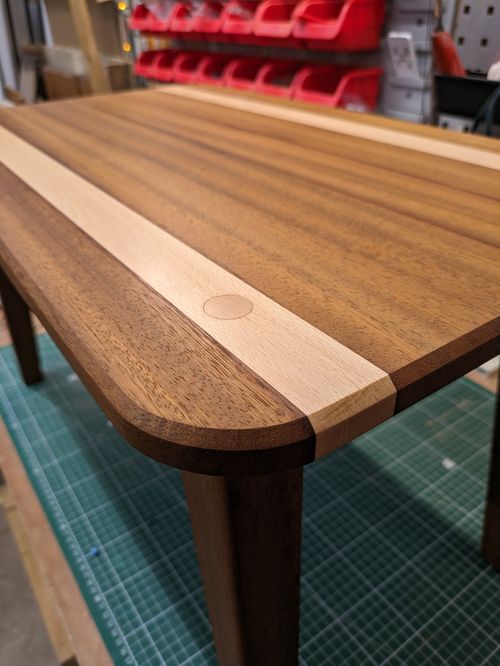
Since the wooden dowels were made of birch, I also used 2 birch slats of 35mm width each, which would then be used to centre the dowels of the legs into the tabletop.
For the legs, I used the same dark wood. And I chose to place the legs at an angle of 5 degrees.
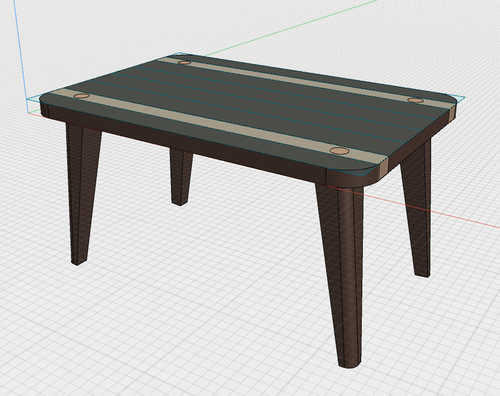
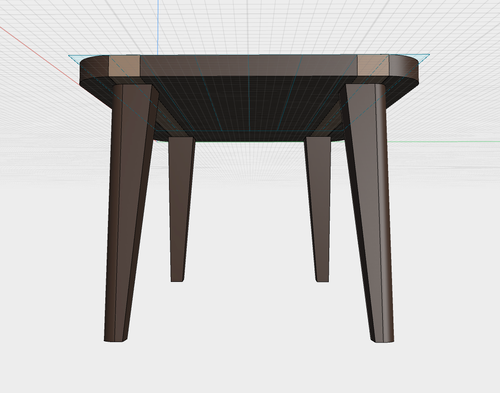
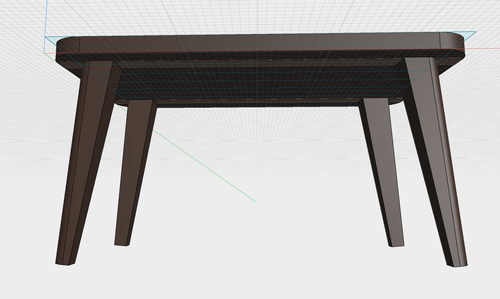
Now that my design was ready, I could finally start with the manual work.
One of the great advantages of the woodworking course is that you can use all the machines that are available. For processing the rough wood, we can use the planer, the thicknesser, and the table saw to come to the perfect pieces of wood. As a hobby woodworking, you can only dream of such machines :)
After processing all the wood to the correct size, it was time to start gluing.
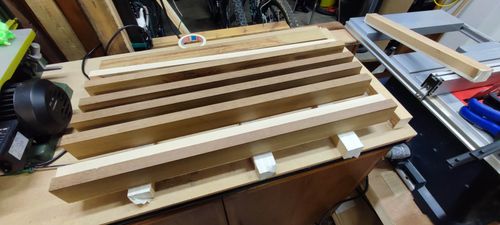
For the top, it was important that we took into account the grain direction to have as little trouble as possible with the wood warping.
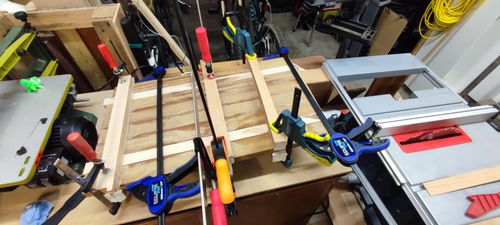
This was the first time that I assembled my own tabletop. This is something I have long wanted to do myself but never dared to take the step for. Eventually, the gluing went smoothly and after letting the glue dry long enough, the top was put through the thicknesser one last time to have a perfect surface.
Since I wanted to set my legs at an angle of 5 degrees under the top, and that the inside of the legs were conical, it took some thought on how to cut the top and bottom of the legs. It was almost a miracle that this worked out without any problems the first time :D
The holes for the legs' dowels were drilled into the top of the leg using a long-hole drill. For the holes in the top, I used a regular drill press to make sure the hole was straight.
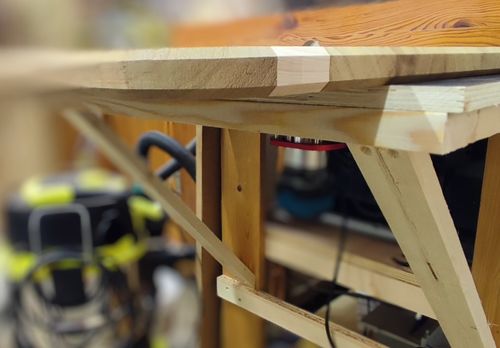
Now that my legs and top were completely cut to size, I did the final finishing on my own router table. I had just made this router table myself so I wanted to use it for this.
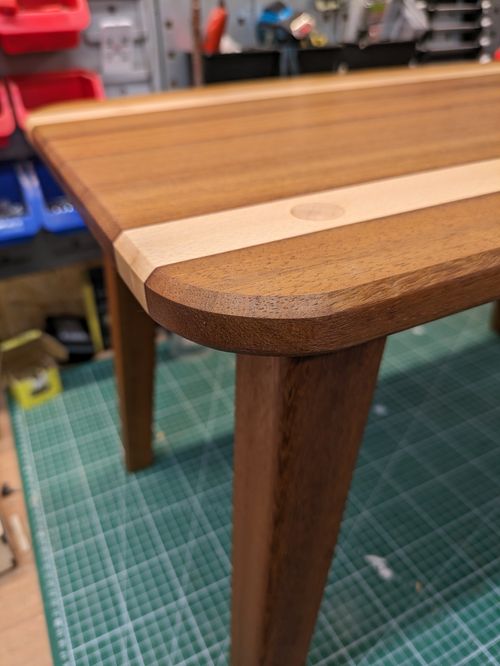
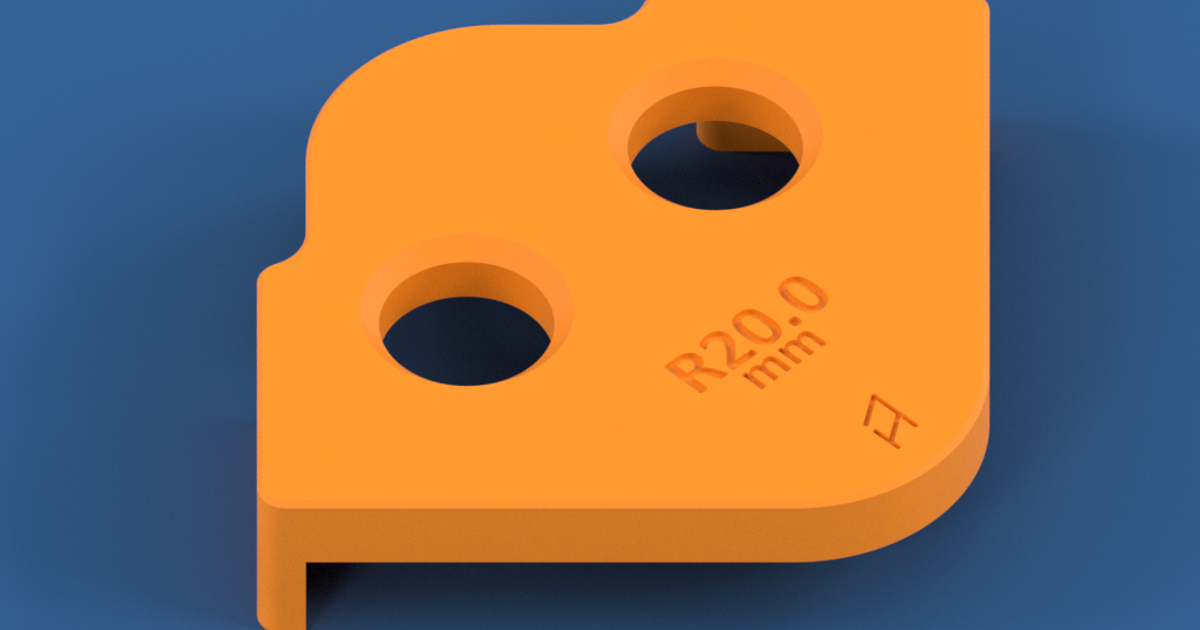
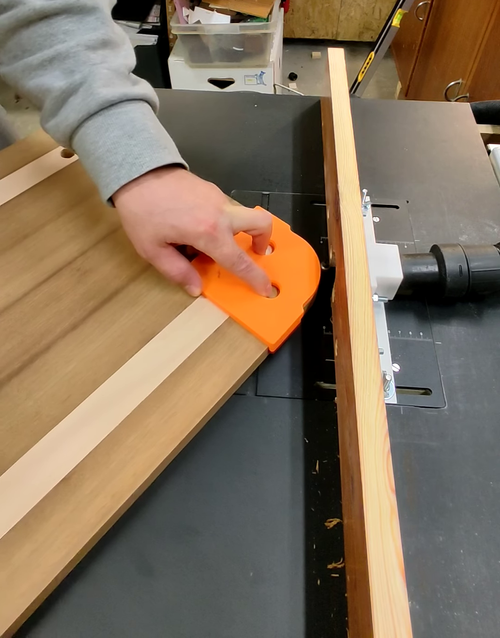
The corners of the table have a rounding of 50 degrees, for this, I printed a template from printables to make the corner nicely round with a router guide. And then I finished the edge of the top, both above and below, with a 45-degree router.
I also rounded the outer corner of the legs on my router table.
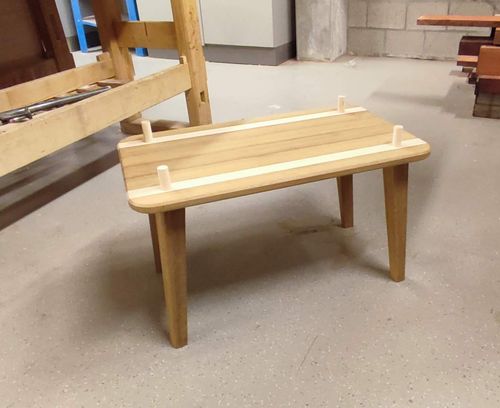
After sanding everything thoroughly and mounting the dowels for the legs, I could glue everything together.
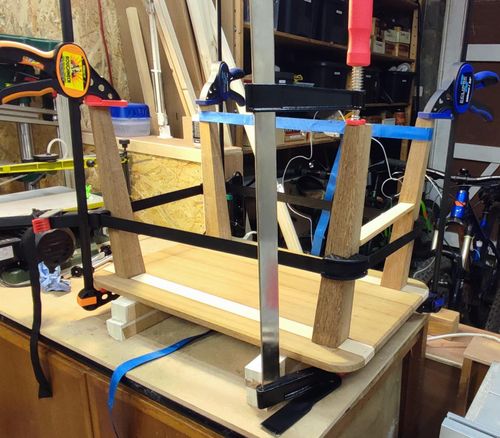
Gluing the legs was still a big challenge. The legs had to fit perfectly onto the top and also absolutely not be crooked, or the table would not have been stable. Gluing the legs was eventually much more stressful than gluing the top, but in the end, it also turned out well with a number of clamps and tension belts and enough patience.
The only thing I had to do now was to put the entire table in a few layers of oil. For the oil, I used transparent Osmo, which beautifully brought out the original color of the wood.
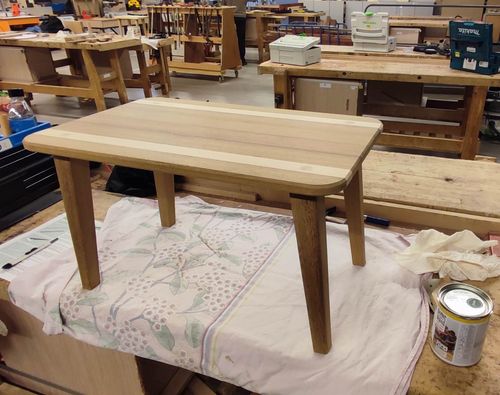
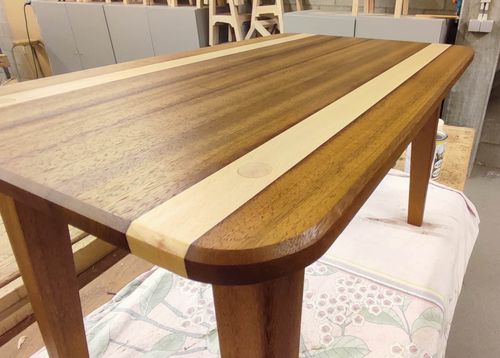
This will be for me the most beautiful piece I have ever made with only wood. I am ultimately also very proud of the result! It's a fantastic feeling to have a fully finished product from a rough piece of wood in the end.
